Fixing Water Damage: Where to Start After a Leak or Flood
Water damage creates instant stress for any property owner. Within hours, floors warp, ceilings sag, and the air smells damp. It’s not just about cleanup but about acting smart before the damage spreads. Fast, focused action can stop long-term problems and expensive repairs from snowballing out of control. Knowing what to do in the first few hours makes all the difference.
Why the First Steps in Water Damage Repair Matter
The first steps you take after a leak or flood shape everything. Delayed or misdirected action can lead to mold growth, structural issues, and higher repair bills. Worse, it can force you to redo work that was rushed or done without proper inspection. By knowing where to begin, you avoid compounding the damage and wasting time. Prioritizing safety, moisture removal, and smart decisions sets the tone for a smoother recovery. It also gives you a better foundation for dealing with insurance, contractors, and long-term fixes.
What to Do First When Water Damage Occurs
Standing in a flooded room can freeze you in place. Your mind races, but your body hesitates because you don’t know what to do first. Acting without a plan risks exacerbating the damage. Taking the wrong step wastes time, money, and effort. Starting in the right place isn’t just helpful; it’s critical. Once you’ve secured safety, the next move is moisture removal.
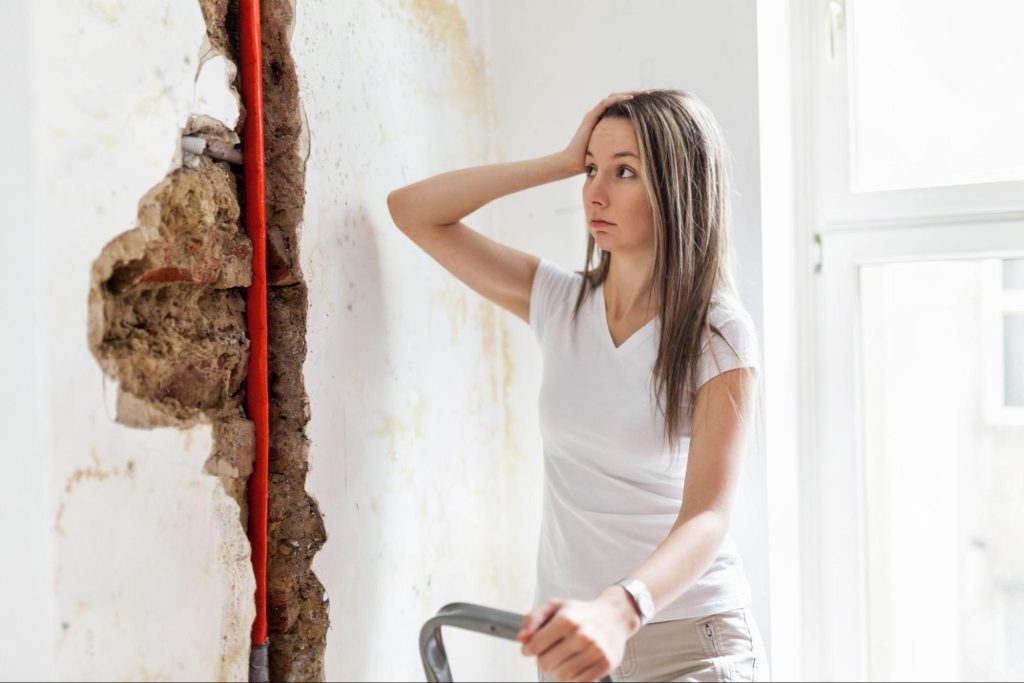
Take Safety Precautions Before Starting
Water damage often hides more than wet floors and soggy walls. It can bring electrical hazards, structural risks, and contaminated water into your space. Before rushing to dry or remove anything, step back and evaluate the environment for danger. Your safety and that of your household depend on how you begin.
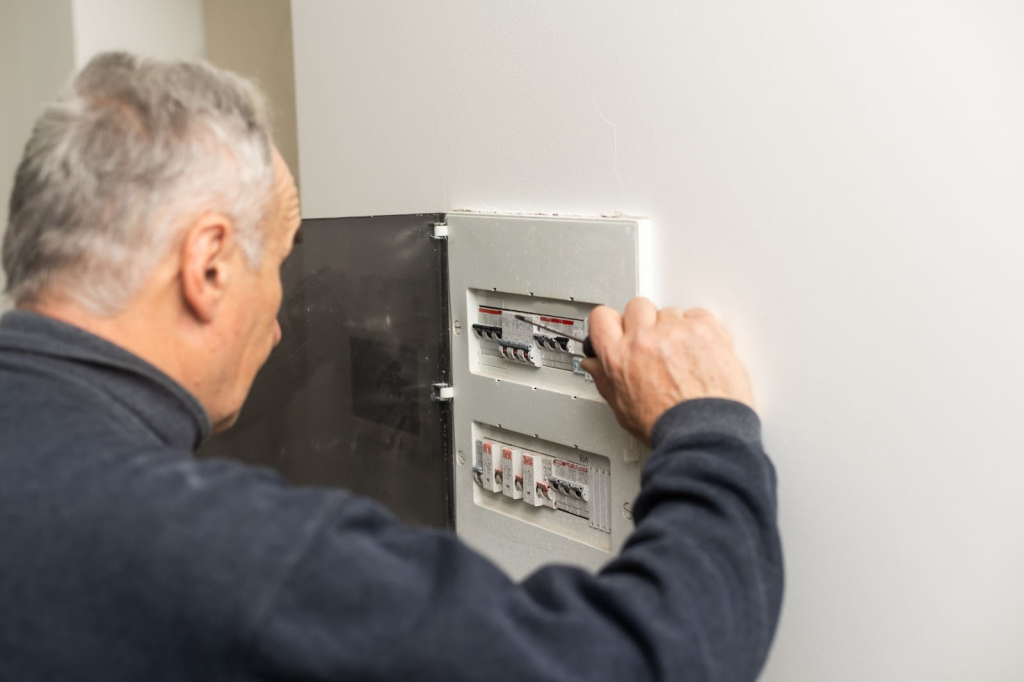
Shut Off Power Sources and Stay Alert
Turn off the power at the main breaker if water reaches outlets, wires, or appliances. Even shallow flooding may energize parts of your home you can’t see. Electrical current moves through standing water and poses immediate danger. If you smell gas or hear hissing, leave the house and call emergency services. Avoid touching anything plugged in or using lights until cleared by a professional. Safety comes before salvage.
Wear Protective Gear in Affected Areas
Before stepping into any wet space, protect yourself adequately. Floodwater often carries bacteria, sewage, oil, and sharp debris. Rubber boots, nitrile gloves, and a high-filtration mask help guard against skin infections and respiratory issues. Avoid wearing everyday shoes or going barefoot, as minor cuts can become serious health risks. If you’re cleaning, long sleeves and goggles also help reduce exposure. Keep all children and pets completely out of the area.
Call for Help if You Suspect Structural Risk
If floors feel soft or ceilings sag, there may be hidden damage. Water can weaken framing and drywall faster than most people expect. Avoid walking on suspect flooring or touching damaged walls. Restoration teams have tools to check for rot, trapped moisture, and collapse risks. Their reports also help with insurance claims. Getting expert eyes on the scene protects you from future surprises.
Remove Water Quickly to Keep Damage From Spreading
After securing the area, move quickly to remove the water. Moisture spreads quickly through floors, walls, and hidden layers. Every extra hour gives mold a head start and weakens the building further. Quick action now saves you time and money later.
Remove Surface Water as Soon as It’s Safe
Use wet/dry vacuums or portable sump pumps to clear pooled water. If these aren’t available, buckets and mops work in a pinch. Focus first on low points where water collects and spreads. Soaked carpets and rugs should be pulled back or removed entirely. Even if they seem dry on top, the padding underneath traps water. The faster you remove it, the less cleanup you’ll face later.
Boost Airflow to Dry Rooms Efficiently
Once surface water is gone, turn your focus to ventilation—open windows and set up fans to push humid air outside. Airflow helps evaporate water trapped in walls, trim, and subfloors. Angle fans toward wet corners and rotate them every few hours. Use industrial-grade air movers or rent high-velocity fans from a local supplier for the best results. Constant circulation prevents stale, damp air from lingering.
Lower Humidity With Dehumidifiers
Moisture doesn’t just sit on surfaces; it hangs in the air. Dehumidifiers draw water from both the air and anything they touch. Use a large-capacity model for rooms with no cross-breeze or high humidity. Run it continuously for at least 48–72 hours. Empty the tank regularly or hook up a drain hose. Keep doors closed to allow it to work efficiently.
Spot Hidden Moisture With Proper Tools
Even after the surface dries, moisture may still hide in your structure. Use a moisture meter to check baseboards, drywall, and flooring. These tools help detect water that can’t be seen or felt. If you don’t own one, many home improvement stores rent them. You can also call in a restoration company for thermal imaging scans. Finding trapped moisture early helps prevent deeper damage.
Know What Can Be Saved and What Must Go
After removing the water, the objective evaluation begins. Not every item in a water-damaged property is a total loss. Some materials can be dried and restored, while others may trap moisture and become breeding grounds for mold. Making informed decisions now prevents long-term issues like decay, indoor air problems, and repeat repairs.
Evaluate Structural Materials First
Start with walls, floors, and ceilings. Drywall absorbs water quickly and loses strength quickly. It usually needs to be cut out and replaced if it’s soft, sagging, or discolored. Insulation behind walls often holds water, which promotes mold, so inspect it closely. Solid wood framing may be salvageable if dried quickly and correctly. Any visible mold or soft spots are signs it’s time to replace the material.
Check Flooring and Subfloor Conditions
Flooring materials respond differently to water. Hardwood can sometimes be restored if dried immediately and treated for mold. Laminate flooring tends to swell and warp, making it harder to save. Vinyl may come loose, and tile could crack if the subfloor weakens. Pull up the flooring where water has sat for more than a few hours to inspect the subfloor. A wet subfloor will trap moisture and spread damage, even if the top layer feels dry.
Sort Out Furniture and Upholstered Items
Furniture made of solid wood may survive with proper drying and refinishing. Upholstered pieces are more complex to save, especially if soaked through. The internal foam and fabric absorb moisture and mold quickly. Leather may be salvageable if cleaned quickly with professional-grade products. Particleboard furniture usually warps beyond repair and should be removed. Don’t forget to check for hidden water inside drawers or under cushions.
Review Appliances and Electronics Carefully
Never plug in a wet appliance or device. Water inside circuits can short them out or cause a fire. If electronics are exposed, have them inspected by a qualified technician before use. Check if water reached the motor or control panel for large appliances like washers and dryers. Some insurance policies cover damaged appliances, so document everything before disposal. It’s better to replace than risk malfunction or electrical shock later.

Stop Mold Growth Before it Starts
Mold can begin forming within 24 to 48 hours of water exposure. Once it takes hold, it spreads fast and compromises air quality, surfaces, and structures. Preventing mold isn’t just about cleaning; it’s about removing the right materials and drying thoroughly. Every corner you miss now becomes a future headache.
Disinfect All Surfaces That Got Wet
After drying out the space, clean every affected surface with mold-killing products. Use a commercial antimicrobial cleaner or a diluted bleach solution for non-porous materials. Scrub walls, trim, flooring, and any exposed framework. Mold hides in joints, under baseboards, and around window sills. Don’t just wipe; scrub and rinse thoroughly. Disinfecting now avoids costly remediation later.
Remove Any Porous Material That Stayed Wet
Items like carpets, insulation, and ceiling tiles can’t be saved if they stay soaked for a long time. These materials trap moisture inside, making them a perfect environment for mold spores. Cut out affected drywall at least one foot above the water line. Bag and remove everything, then disinfect the surrounding areas. Keep trash outside, not in garages or porches. Delays in removal create new contamination risks.
Watch for Smells or Signs of Recurring Moisture
Even after drying, mold can return if moisture sneaks back in. Musty odors, discoloration, or peeling paint indicate something’s off. Use a moisture meter to double-check before closing walls or replacing floors. Continue running fans and dehumidifiers for several days. In crawl spaces or basements, consider installing vapor barriers or ventilation fans. If mold appears again, bring in licensed mold remediation professionals immediately.
Document Everything for Insurance Claims
Insurance claims depend on clear records and proof. Without photos or itemized damage, you may not recover the full cost of repairs. Claims adjusters need evidence that ties the damage directly to the event. Starting documentation early helps protect your investment and speeds up reimbursement.
Take Wide and Close-Up Photos of the Damage
Photograph every room affected before you remove anything. Capture waterlines, damaged items, soaked floors, and visible mold or staining. Get wide shots to show the overall impact and close-ups to highlight details. Document cleanup steps and material removal, too. That proves that the damage wasn’t caused by neglect. Time-stamped images are invaluable for claim reviews.
Save Receipts, Invoices, and Cleanup Records
Every expense related to restoration should be recorded. That includes equipment rentals, drying tools, contractor costs, cleaning supplies, and temporary lodging if needed. If you handled the work yourself, log the hours and list what was done. These details help support additional compensation, especially under loss-of-use clauses. A digital folder or cloud backup keeps everything safe and shareable.
Contact Your Insurer Promptly
Notify your insurance company as soon as possible. Some policies require immediate reporting for flood, storm, or plumbing claims. Ask what documentation they need and if an adjuster will visit. Keep copies of every conversation, including names and times. The more organized you are, the less pushback you’ll face during reimbursement. Quick coordination helps you recover faster and avoid disputes.
Fix Water Damage Before Repairs Multiply
Waiting rarely leads to a better outcome when water gets in. Every delay gives moisture more time to rot, mold, and spread unseen. Acting early isn’t just about cleanup but protecting the value of your property and your ability to live safely. Fix what needs fixing, replace what’s beyond repair, and reinforce what’s still strong. When you lead with smart decisions, restoration becomes manageable. Water damage won’t resolve on its own—it demands action.
The damage might be done, but your next step matters. Visit the Express Restoration blog for expert guidance in the field.